Stawamus Chief (The Chief)
TL;DR: To hike the chief, you must be fit and have some experience with hiking; otherwise, you won’t enjoy the hike to Stawamus Chief (The Chief). Bring gloves (you will thank me afterwards). Skip peak 1, go straight to peak 2 and then peak 3. Coming out from a different trail (second peak and third peak trail) than the one you are going into completes a loop. By doing a loop you get a different experience between going in and coming out.
The trailhead is near Squamish, Columbia. There are several hiking trails, and camping sites in that area. Even parking lot is big, you may want to come early in the Summer hiking season that park close to the trailhead.
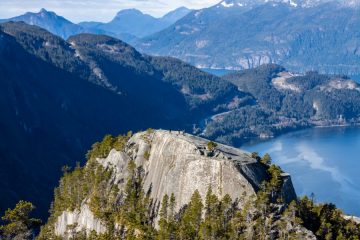
The chief is one of the largest granite monoliths in the world. There are 3 peaks that open to hikers. The highest peak, the third peak, stands at over 700 meters. Round trip is around 6km or 11 km, and anything in between depending on which routes you take and which peaks you go.
I usually skipped peak 1 and went straight to peak 2, and then went on to peak 3. I came back to the trail head from the trail that directly connects the third peak with the trail head. The route I took completes the loop.
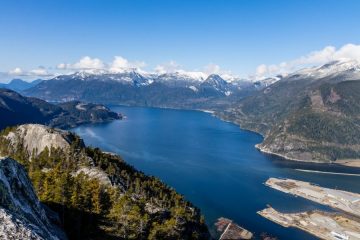
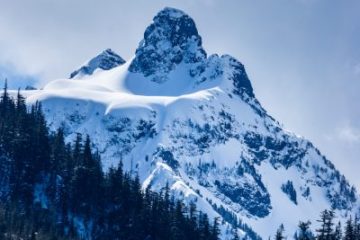
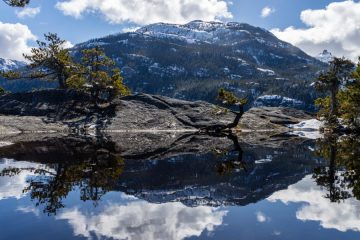
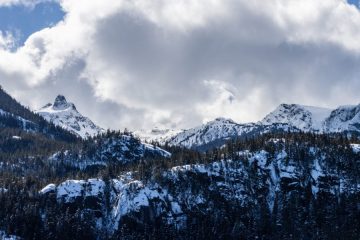
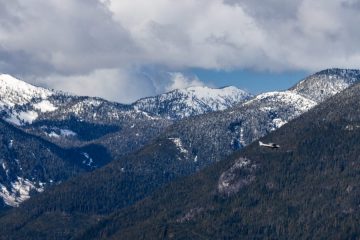
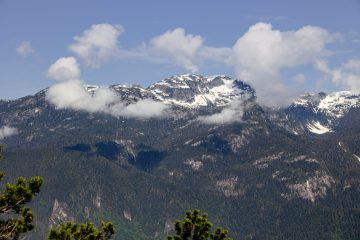
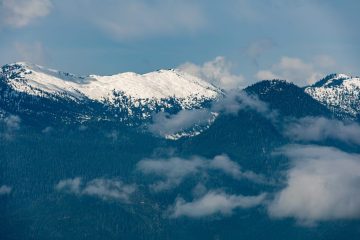
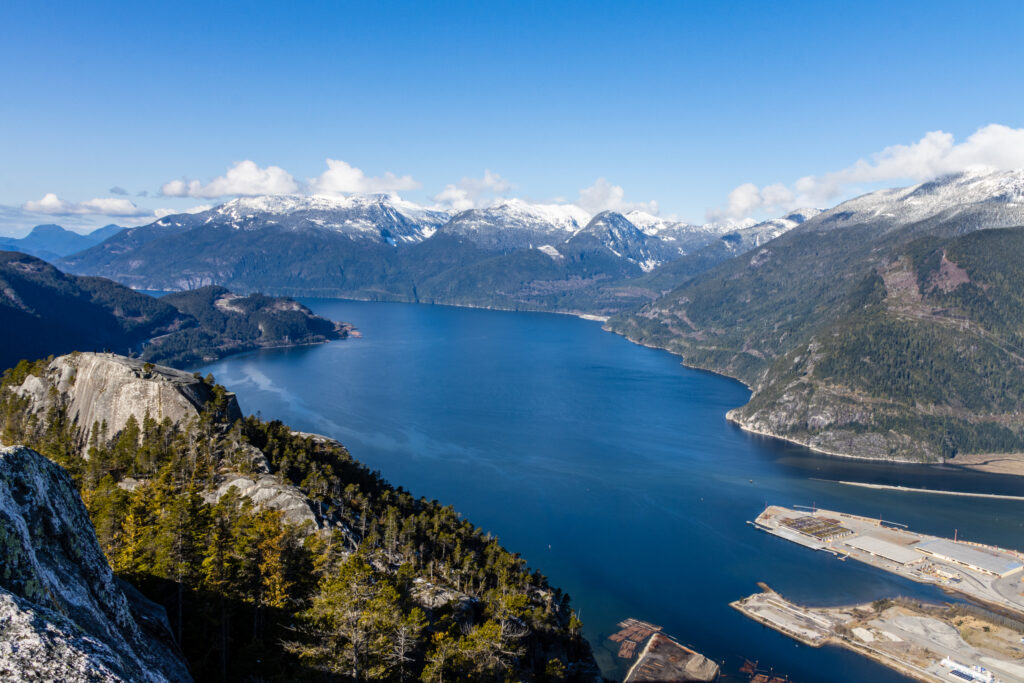
The trail leading to peak 2 and peak 3 is very technical. At the start, you will climb some steep stairs, both wooden and rocky. The trail involves non-stop ascending, except for the first 200 meters from the trail head. Before reaching peak 2, you have to use a few chains to pull yourself up from some boulders. After that, you need to climb a vertical ladder. Gloves are highly recommended, not only for pulling the chains, but also for navigating the sharp boulders. On peak 2, you will have beautiful views of mountains, like sky pilot and the co-pilot, which surrounding the chief, Howe sound, and the first peak.
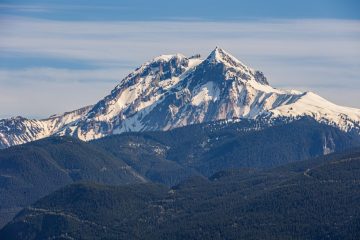
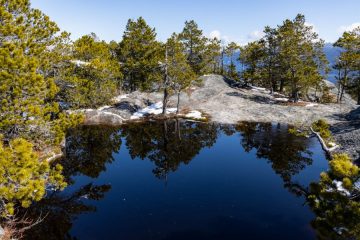
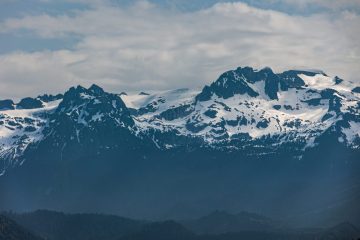
The trail that connects peak 2 and peak 3 is interesting. There is a valley called “The Saddle” between peak 2 and peak 3. The valley is between the peaks. The sun can’t shine on it in Mid April which was when I did the hike. Because of lack of sunshine, there was still a little bit of snow and ice on the trail which makes it very slippery. In that valley, there is a beautiful view, which is easily missed, where you can see Mount Garibaldi from an opening between 2 boulders.
Hiking to peak 3 is not as technical as climbing peak 2. There are no chains nor ladders. However it’s a bigger boulder than peak 2 and there are no clear markers (for obvious reason because it’s not easy to mark the trail on a giant rock). On peak 3, other than the views that you can see from peak, you can also see both peak 1 and peak 2.
To go back to the trail head, you can take a different trail from where you come from (peak 1 and 2). There is a trail connects the trail head and peak 3 (some people use that trail to go to peak 3 first and then peak 2). In the official map, that trail is marked as “To the parking lot”. But basically for most of the trail, you are following a creek and going down. There are a lot of sharp boulders and wet areas (depending on what seasons you do the hike). Gloves and waterproof hiking shoes are a must.
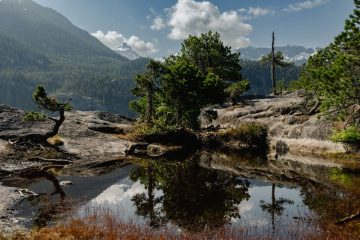
There is a small waterfall near the trail head. Some people like to take a dip at the pool after their hike.


